Last Updated on December 27, 2023
Editorial Note: By purchasing through the links on DustyGrain, we may earn a commission. These earnings do not dictate our opinions or product evaluations.
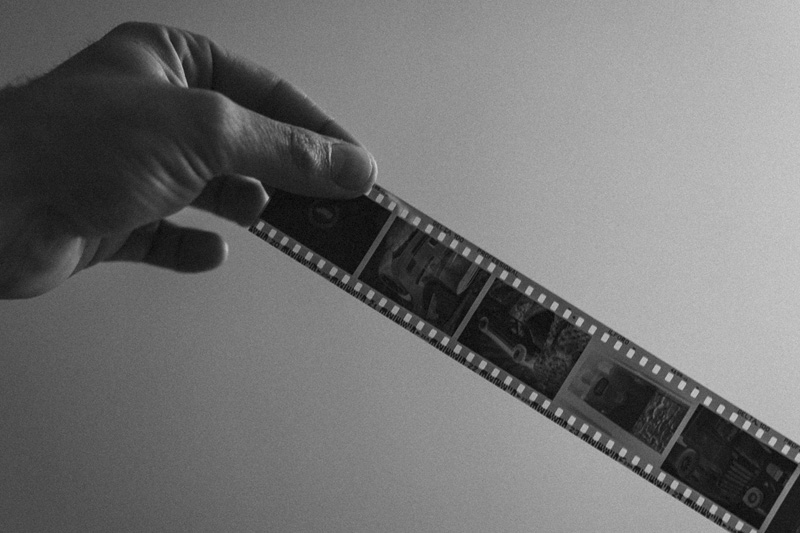
We have finished shooting all the frames that we had in our cartridge, do we rewind the reel and go to the nearest laboratory so that they pass those negatives to a more visual format?
It is an option, but we are going to contemplate another possibility that is cheaper and, above all, more rewarding. Carry out the black and white film development.
Before you think this is not for you and stop reading, let me tell you that the develop black and white at home is child’s play, so first remove the fear of spoiling your negative and give developing a homemade try.
Table of Contents
What Do We Need To Develop Black And White Film In A Simple Way?
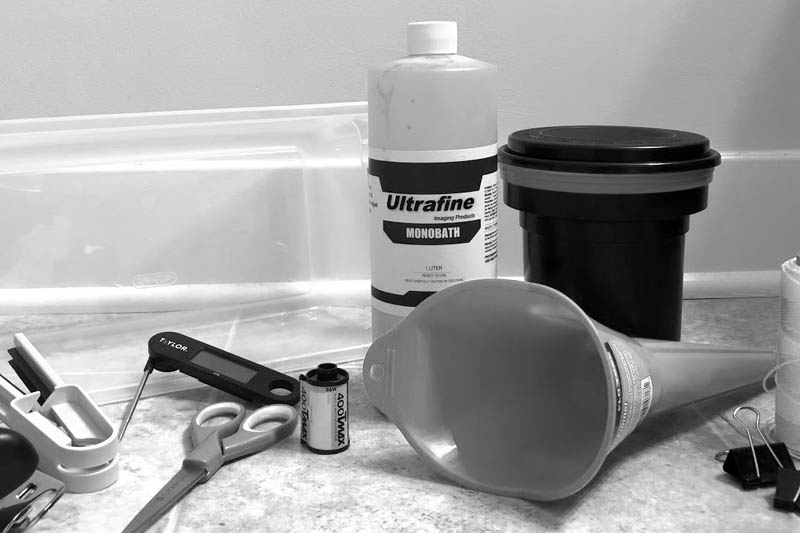
To develop black and white film we fundamentally need two things:
- A developing tank
- Chemistry
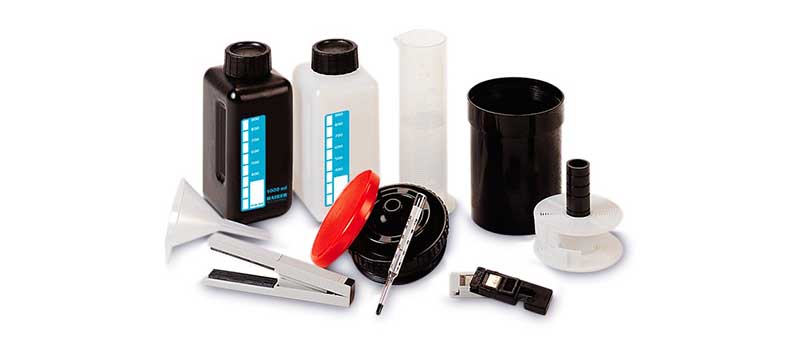
The rest of the elements are things that we all have at home, such as bottles (where to store chemicals), a funnel (to get the chemicals into your bottle), a thermometer (to measure the temperature of chemicals), some pair of scissors (to cut the film from the reel) and some tweezers of any type (hanging clothes or office with which to hang our negatives during drying).
That’s all. The black and white film development it doesn’t seem so complicated, does it?
What Is A Developer Tank?
It is a generally plastic cylinder in which we find a spiral inside. This spiral serves to place the film on the reel inside it and the chemistry to contact its entire surface evenly.
Inserting the film inside is really simple, it is enough to insert the beginning of the reel in the housing that it has for this purpose, and grasping the spiral with both hands and by turning the wrist, we will see that thanks to the two metal balls it has, the film will rush in.
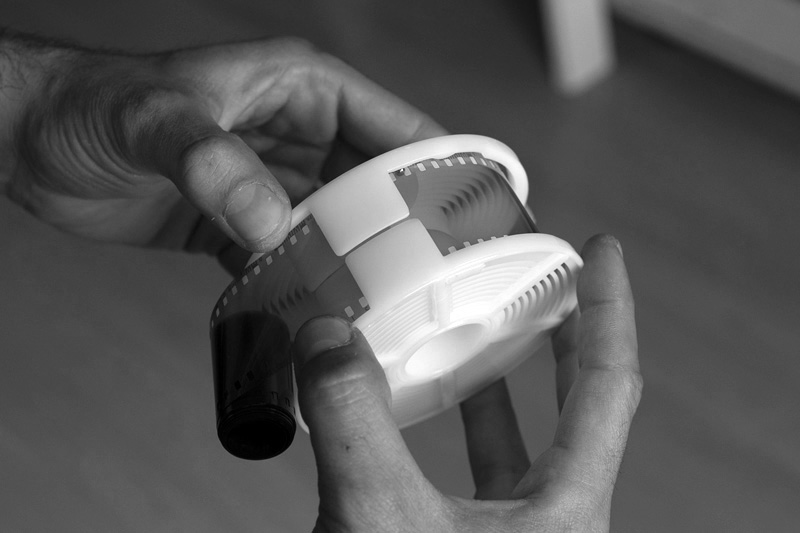
We can find tanks of multiple sizes, for one spiral, two spirals and even eight.
Of course, the tank capacity will not be the same for a spiral as it is for an eight.
What Chemistry Do We Need?
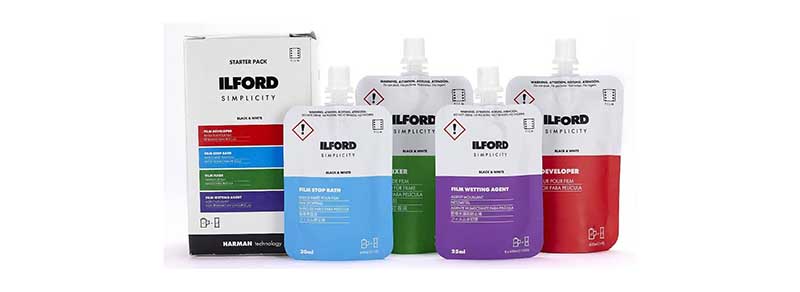
In order to to develop a black and white film we need at least two chemicals, although I recommend using four. Let’s see them one by one.
Developer: Its function is to convert all halide crystals that contain some silver atom, exposed during photography, into black metallic silver, thus creating the negative image on our film.
There are powder or liquid developers, but all must be diluted with water in the proportions indicated by the manufacturer.
A greater dissolution, we reduce contrast and we will increase the grain, if we use a lesser solution, quite the opposite.
Stop bath: It is a chemical with an acid PH that stops the action of the developer.
It is not absolutely necessary, and can be substituted for a vinegar water bath, but for the price it has, it is worth using specific products for this purpose.
Fixer: Eliminates sensitive particles from the negative that the developer has not acted on due to not being exposed to light and prolongs the life of our negative.
Moisturizer: This is another chemical that is not mandatory and can be replaced with water and a few drops of detergent, although for the price it has it is not worth doing without it.
Its function is to create a slippery film on the film of the negative (forgive the redundancy) to prevent watermarks from being left during drying.
Development Process
First of all, for develop analog photography we have to locate a dark room.
A room where there are slits of light from the window, or there are devices that emit some type of light no matter how poor it is (such as the pilot of a television), it must be an ABSOLUTELY DARK place.
What better time to put together a dark room? (although not technically you don’t need it)
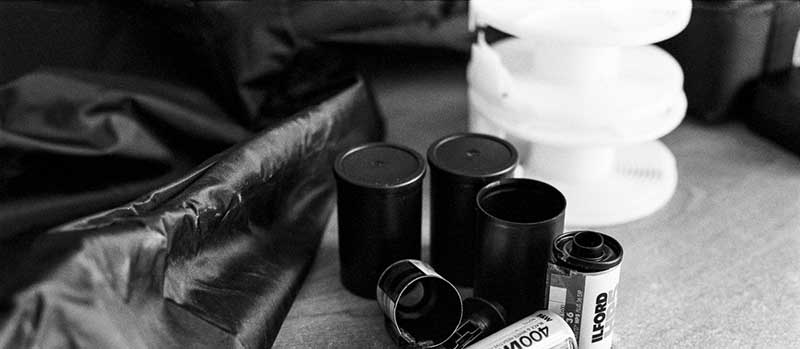
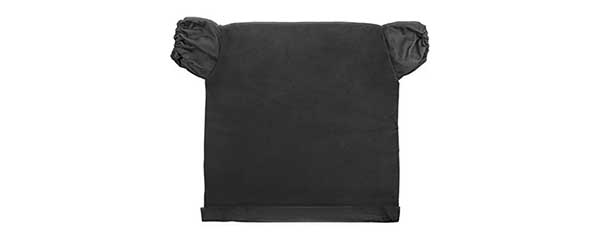
You also can use a darkroom bag. Buy on Amazon.
Once this is verified, we must take three things to that room, the developer tank, film and scissors.
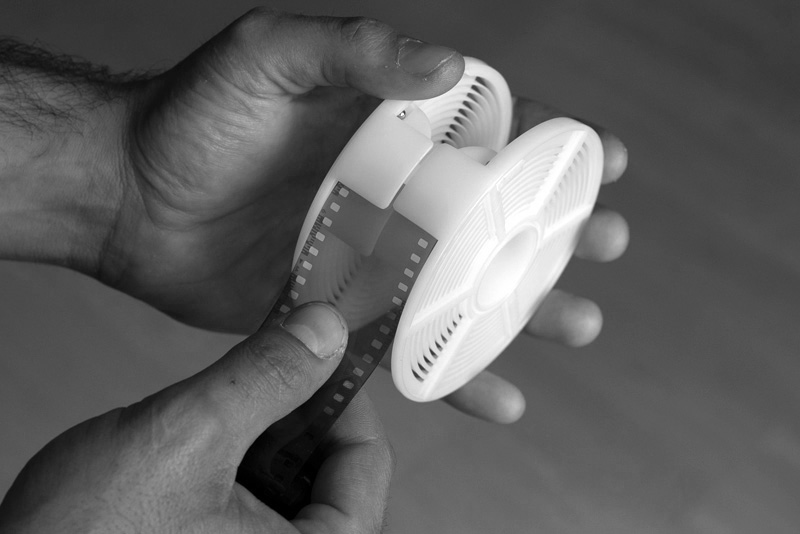
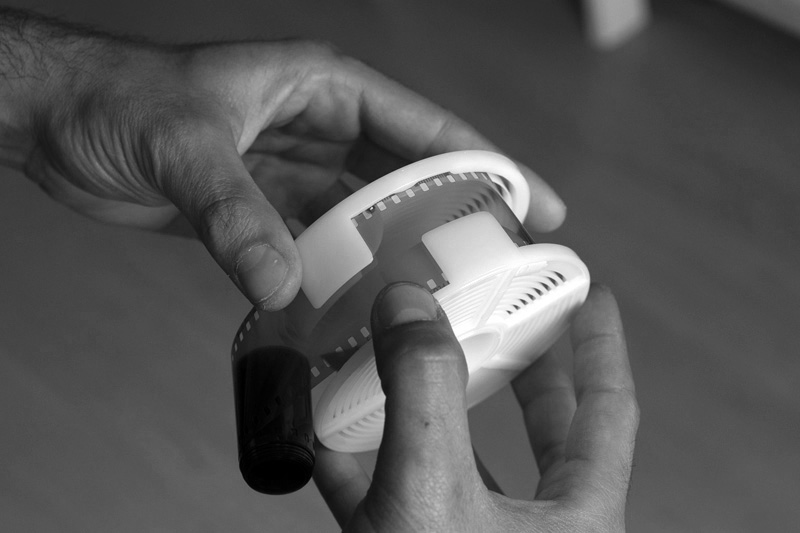
1. Preparing The Development Tank And Film
In complete darkness, we begin by introducing the tab of the film inside the spiral as we saw before.
Once the film is completely inside the spiral, we cut the film to get rid of the reel, we put the spiral with the film inside in the tank, we close it with the lid and we can turn on the light.
2. Development
We check that the developer temperature is within around 20º.
Once this temperature is reached, we dump as much developer amount as our tank has capacity.
During the first minute of development We will make smooth and constant dumps of the tank so that it acts well on the entire film.
Once the first minute has passed, we will give three or four strokes at the base of the tank to eliminate any possible bubbles that may have been created and let it rest.
The remaining time, we will carry out various agitations (three or four will suffice) at the end of each minute and let it rest (without forgetting the blows to eliminate the bubbles).
The time of development will depend on the film used, the iso to which it was shot, the developer used and the solution to which we use the developer.
Once the time is up, we will dump the contents of the tank by discarding it or recycling it if we intend to reuse it.
3. Stop Bath
Without taking too long, we will overturn the stop bath in the tank.
We will perform 10 or 15 dumps of the tank, we will hit the base of the tank and let the chemical act during 2 minutes.
At that time we dispose of the chemical or reuse it.
4. Fixer
We fill the tank with the chemical fixative and we do the same process as during the development.
Constant dumps during the first minute, and several overturned at the end of each minute.
This process lasts between 5 and 8 minutes depending on the freshness of the fixer.
Again we dump the content by disposing of it or recycling it.
5. Wash
In this step I recommend using the Ilford method.
This consists of filling the water tank, making a dump and dumping the water, we refill and do the same but with five dumps, we repeat the operation with 10 dumps, again with 20 dumps and with this we would have the negative clean and free of chemistry leftovers.
6. Moisturized
We fill the tank with the moisturizer, We perform 10 dumps, and we let it rest for 2 or 3 minutes.
Finally we return the chemical to its bottle and we would have the negative ready for drying.
7. Drying
To dry the Negative, with the help of tweezers, that each one looks for the way that best suits him, trying to hang it and with a weight (a pair of tweezers, for example) at the base of the negative so that it is stretched and does not warp.
The drying It will last more or less time depending on the humidity of your area, the heat, etc. I would recommend giving several hours of drying to make sure.
One tip is to hang the negative to dry in the bathroom and let the shower water run for 2 or 3 minutes in order to create steam in the room.
Although in this way we will prolong the drying time, we will ensure that the steam generated prevents any dust that may have circulated through the air and ends up adhering to our film.
And this is the whole mystery of black and white analog photography development.
The truth is that the process does not take more than 15/20 minutes and if we want to save time we can get hold of tanks with several spirals, in order to develop several films at the same time. (always taking into account that they are of the same ISO).
Why Develop Black And White Film At Home?
Mainly for two reasons:
- In first the economic: A development in the laboratory does not usually lower than US$ 5 per reel, while carrying out this process at home its cost can be around US$ 0.50. Not bad right?
- Satisfaction: Carrying out the entire photographic process yourself, from the moment you shoot, until the moment you see the negative strip (already with photographs) hanging and drying, is something that will at least make you smile.
In addition, it will make you really understand how photography works.