Sunny 16 Rule “Expanded”: Day and Night Metering for Keen Eyes
Last Updated on January 2, 2024
For over a decade, the Sunny 16 Rule has been a cornerstone of my photography practice. Today, I’m excited to unveil an enhanced version of this timeless technique, tailored for both novices and seasoned photographers alike. This guide aims to demystify the Sunny 16 Rule, making it an indispensable tool in your photography arsenal.
The beauty of the Sunny 16 Rule lies in its simplicity and versatility. It’s a game-changer for those without a light meter or for photographers striving to master intuitive exposure settings. This technique not only streamlines your shooting process but also deepens your understanding of natural light, liberating you from the constraints of electronic devices.
In this guide, you will see that the Sunny 16 rule is presented with some variations compared to others, covering more lighting situations, including daylight and low-light conditions. This is due to the knowledge and experiences I have gathered over the years in my photography practice.
Table of Contents
Mastering the Basics
The essence of the Sunny 16 Rule is synchronizing your shutter speed with the film’s ISO, adjusting only the aperture for perfect exposure. Here’s how you can adapt and apply this rule flexibly:
- Use a shutter speed of 1/125 for ISO 100 film.
- Switch to 1/250 for ISO 200 film.
- For ISO 400 film, opt for 1/500.
- Continue this pattern for higher ISO films.
Advanced Adaptations: Calculate!
Enhancing your photos involves playing with stops for creative effects or to make the most of available light. This adaptability is key to making the Sunny 16 Rule work for you.
When adhering to the Sunny 16 rule and adjusting for different apertures and shutter speeds, it’s all about maintaining the right exposure through equivalent adjustments. Let’s focus on changing the aperture from f/5.6 to f/2.8, which is a shift of two stops of light. Each “stop” either doubles or halves the amount of light, so moving to f/2.8 from f/5.6 doubles the light once, and then doubles it again, allowing four times more light into the camera.
If you’re starting with a base exposure of f/5.6 and 1/500s shutter speed at ISO 100 on a sunny day, and you want to open up to f/2.8 for a shallower depth of field or other creative reasons, you’ll need to adjust the shutter speed to compensate for the additional light. Since you’re increasing light by two stops with the aperture, you’ll need to decrease it by the same amount with the shutter speed to maintain exposure. This means you’ll increase the shutter speed to let in less light.
For each stop, you halve the light by doubling the shutter speed. So, from 1/500s, you would move to 1/1000s for the first stop, and then to 1/2000s for the second stop. This change in shutter speed compensates for the two stops of increased light from opening the aperture from f/5.6 to f/2.8, maintaining the same exposure level.
This balancing act between aperture and shutter speed is fundamental to managing light in photography, allowing you to control depth of field and motion while maintaining correct exposure according to the Sunny 16 rule or any other exposure setting you start with. Adjusting aperture and shutter speed in opposite directions by equivalent stops ensures the exposure remains constant while allowing for creative flexibility.
Sunny 16 Rule Daylight Application
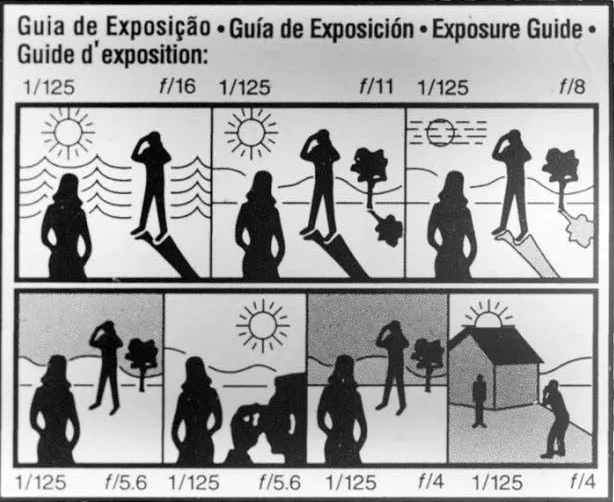
The Classic Sunny 16 Rule emphasizes the lighting conditions provided by the weather at a given moment. To make it more understandable, we will illustrate real-life situations in which it is more appropriate to use one type of aperture or another in each type of scenario.
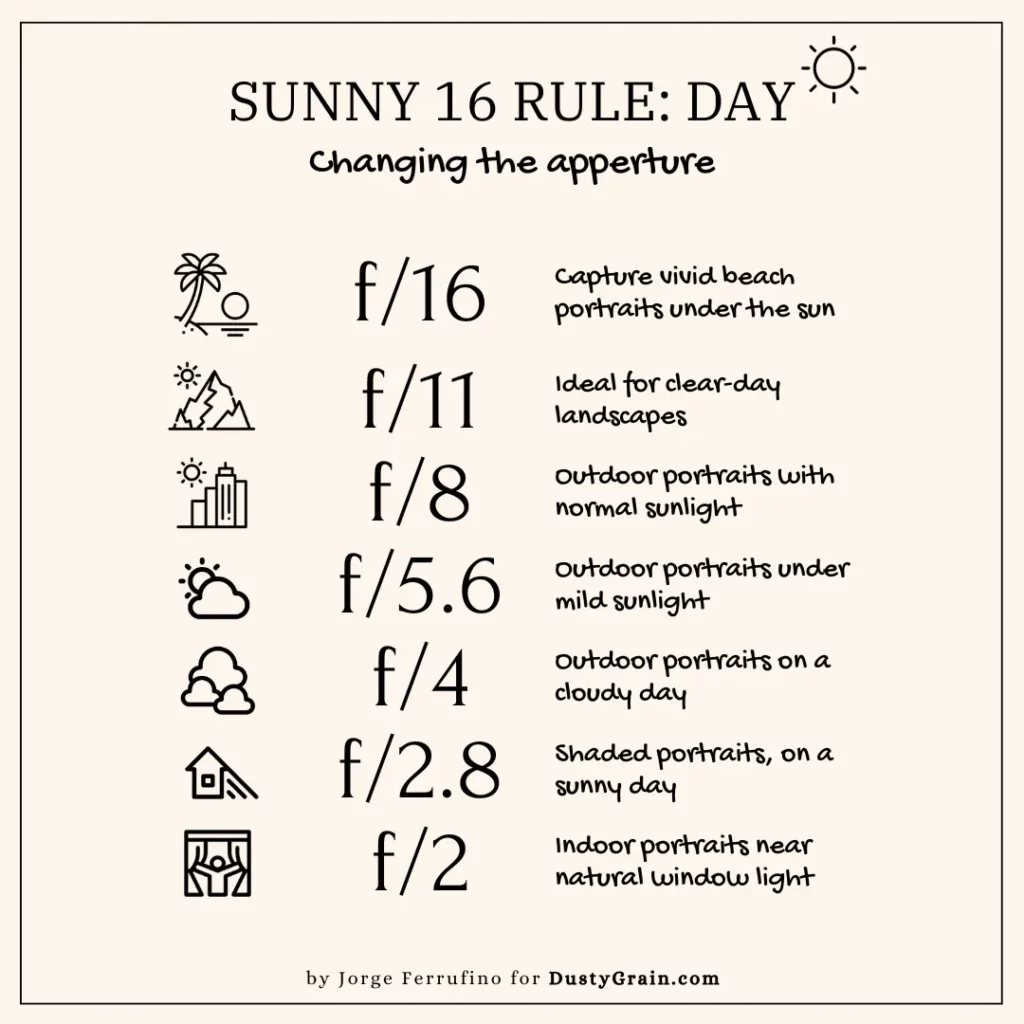
Adjust your aperture from f/2 to f/16 according to these common daylight scenarios:
Sunny Beach Day
- Aperture f/16: Portraits on a sunny beach day.
Sunny Day for Landscapes
- Aperture f/11: Landscapes on a sunny day.
Normal Sunny Day
- Aperture f/8: Outdoor portraits with normal sunlight.
Partly Cloudy Day
- Aperture f/5.6: Outdoor portraits under mild sunlight.
Cloudy Day
- Aperture f/4: Outdoor portraits on a cloudy day.
Urban Shadows
- Aperture f/2.8: Shaded portraits, on a sunny day.
Indoor with Window
- Aperture f/2: Indoor portraits near natural window light (normal sunlight day).
Sunny 16 Rule Indoors / Low Light Application
Expanding the Sunny 16 Rule for low-light conditions requires focusing on shutter speed, a vital aspect when capturing images in dim environments.
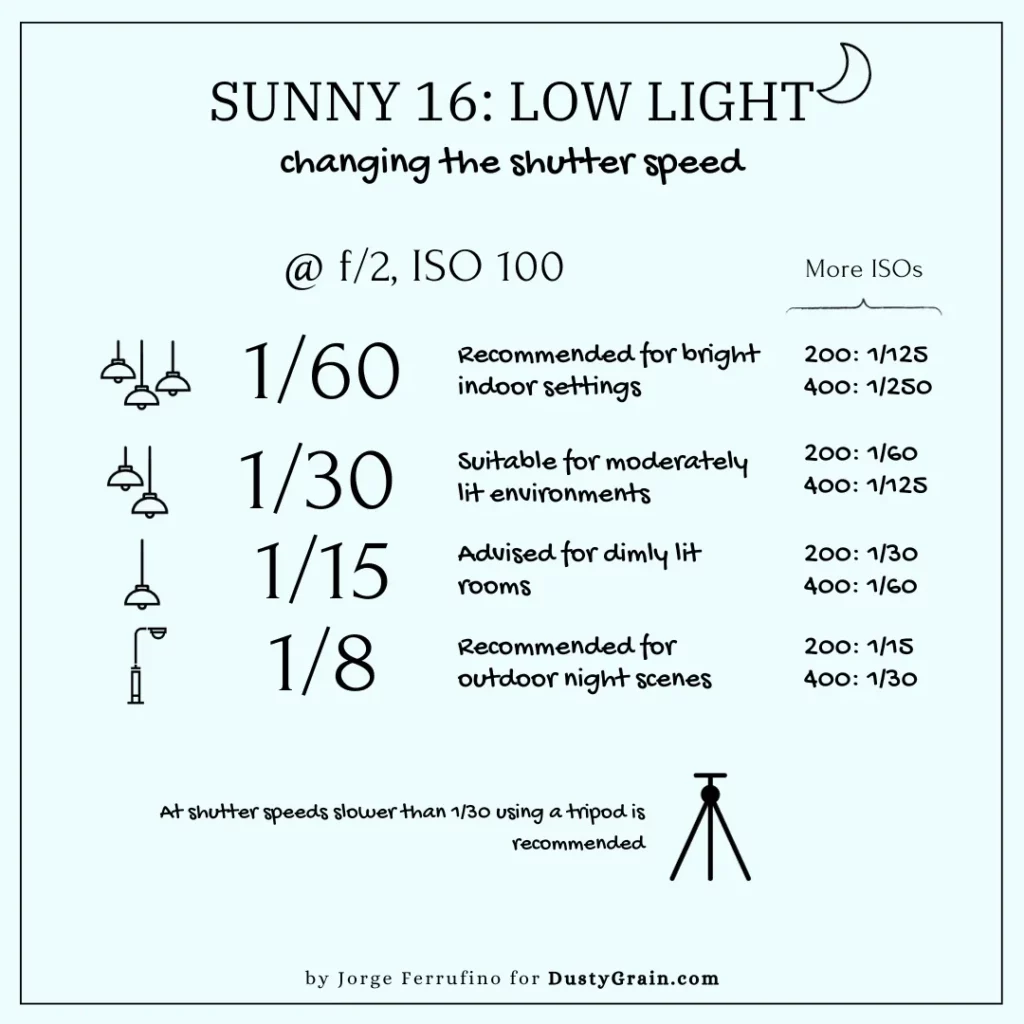
Starting with an f/2 setting at ISO 100 (for easy memorization), adjust the shutter speed based on your environment:
Well-Lit Interiors
- Shutter speed of 1/60: Recommended for bright indoor settings. As ISO increases: at ISO 200, the speed is 1/125; at ISO 400, it’s 1/250, and so forth.
Moderately Lit Rooms
- Shutter speed of 1/30: Suitable for moderately lit environments. With increasing ISO: at ISO 200, the speed is 1/60; at ISO 400, it’s 1/125, and so forth.
Low-Light Indoors
- Shutter speed of 1/15: Advised for dimly lit rooms. Increasing the ISO leads to: at ISO 200, a speed of 1/30; at ISO 400, a speed of 1/60, and so on.
Nighttime Exteriors
- Shutter speed of 1/8: Recommended for outdoor night scenes. As ISO rises: at ISO 200, the speed is 1/15; at ISO 400, it’s 1/30, and so forth.
As we see, with a simple base memorization of f/2 and ISO 100, you can understand and calculate for the rest of the ISOs very easily!
Mastering the Rule
Interpreting Light: Learning to interpret light is a process gained through experience and acquired gradually through trial and error. For example, you will notice that the same light at the end of a sunny day can be found inside a well-lit room. You will develop connections that help you remember and refine your measurements through these abstractions.
Understanding Light Phenomena: There are differences in light levels due to factors like a sunny day at the beach, one in the countryside, and another in the city, even though it’s the same clear sky. This is caused, for example, by light bounce-back or absorption phenomena. At the beach, light bounces off the sand, making it more intense, whereas the opposite happens in the city, where light is absorbed by concrete and all the surrounding elements.
Anticipating your needs: Light can play many tricks when it comes to measuring it (in photographic terms), the change from one space or situation to another is very subtle and we might not even notice it, but with practice, even these subtle changes can be mastered. Nonetheless, it’s good to know 2 things about this:
- The advantage of film is that we have about 3 stops of light to make mistakes, and still have a photo come out “well exposed”.
- It’s always preferable to over-expose rather than under-expose, because, by the nature of film, unlike a digital sensor, it’s more prone to better withstand high lights without “blowing it out” than to recover shadows. The opposite occurs with a digital sensor, which is more prone to blowing out highlights and recovering shadows.”
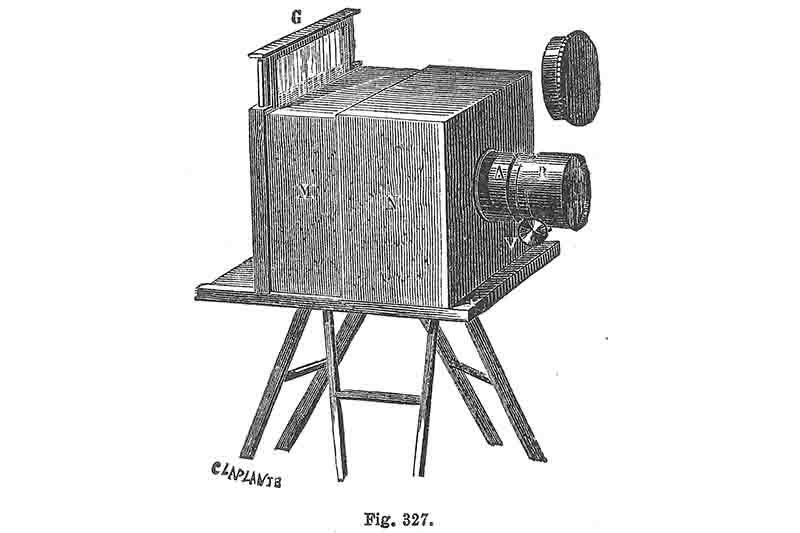
The Evolution of the Sunny 16 Rule
While its roots are in film photography, the Sunny 16 Rule has seamlessly transitioned into the digital era. Its application in digital photography yields consistent, high-quality results across various lighting scenarios. I highly recommend this rule as a foundational skill for anyone passionate about photography – it’s a step towards achieving flawlessly exposed photos without over-reliance on a light meter.
Conclusion: The Power of the Sunny 16 Rule
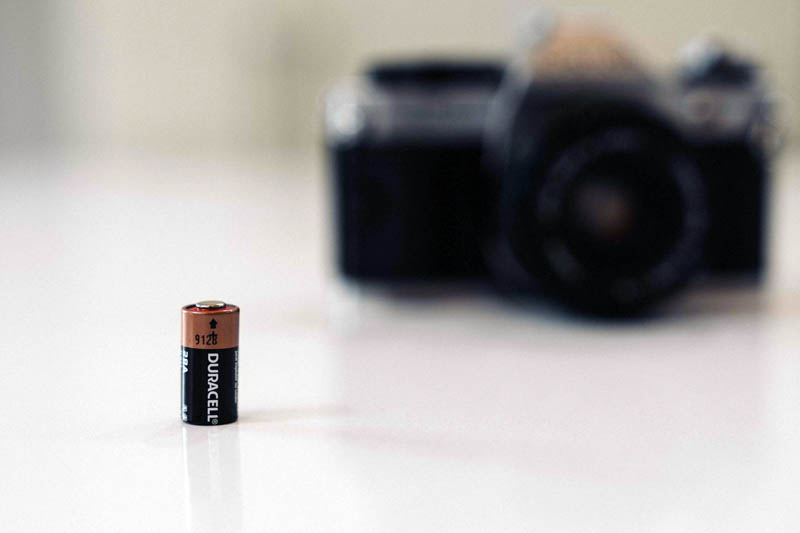
This refined Sunny 16 technique has been a vital part of my photography, especially in situations where battery life is critical. It’s particularly useful when working with various camera types or in extreme weather conditions.
I’m eager to hear how this guide enhances your photography journey. Your feedback is invaluable, and I thank you for exploring this advanced Sunny 16 Rule with me.
FAQ
What is the Sunny 16 Rule?
How does the Sunny 16 Rule work?
When should I use the Sunny 16 Rule?
Can I use the Sunny 16 Rule for other lighting conditions?
Is the Sunny 16 Rule still relevant in the digital age?
What if I’m not shooting at f/16?
Do I need a light meter to use the Sunny 16 Rule?
Can I use the Sunny 16 Rule with digital cameras that have automatic exposure modes?
Is the Sunny 16 Rule foolproof?
Written by Jorge Ferrufino
“I am a fashion photographer and an analog photography enthusiast since the beginning of my career (15 years ago). I have had the opportunity and honor of showcasing my work in various galleries and publications around the world.“
thanks for info.