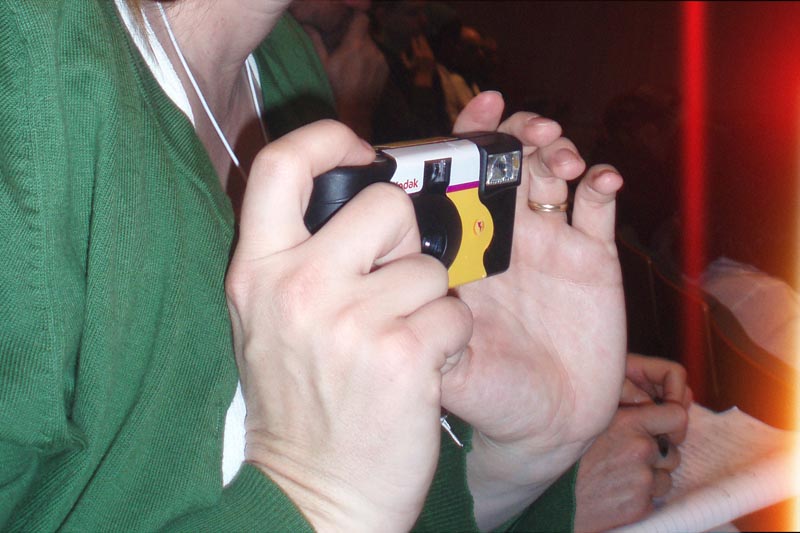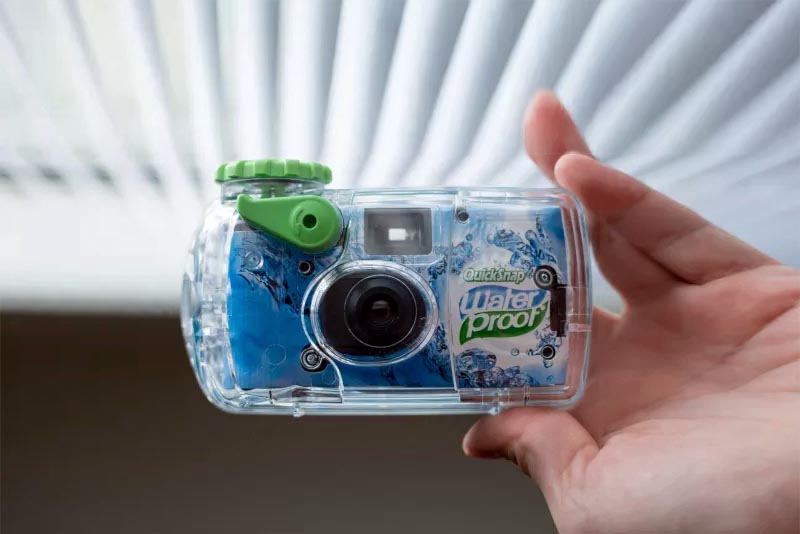
This is a very frequent question among those who are just taking their first steps in analog photography and realize the need to share photos from our disposable camera to instagram.
Basically there are 4 ways to digitize an analog photograph, we will review from the most basic methods to the most advanced and professional ones.
How to get disposable camera pictures on your phone?
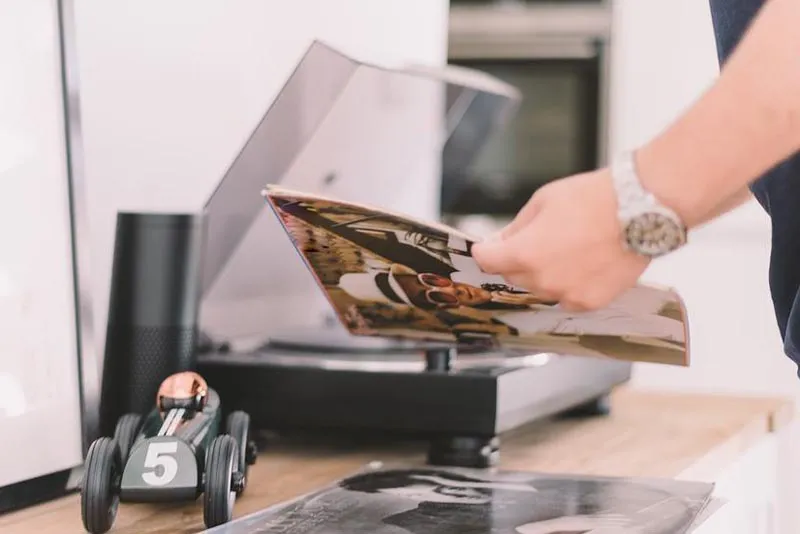
Photographing From The Printed Copy
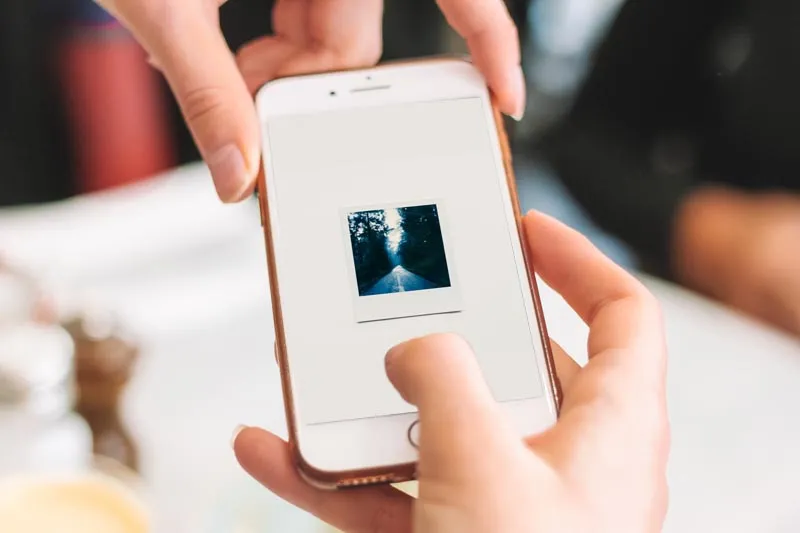
This is the simplest method to digitize our photos on film. It consists of simply taking a picture of the photograph itself. Something like the photo takes a selfie… (bad joke).
The first step is to send to the lab to develop our negative, and then also request the service of printing copies, preferably on matte paper type, so that at the time of photographing them we do not reflect glare in the camera.
The most basic service is the printing of our photos in 13x10 cm, which is the standard size of all life. You can use your mobile phone or a digital reflex camera.
From A Conventional Desktop Scanner
We can also use a conventional desktop scanner instead of a camera, the only thing we have to do is to insert our paper copy on the surface of the scanner, and scan using the scanner software or also using an image software such as Photoshop.
Alternatively you can use a photo scanner dedicated solely to scanning printed images such as Plustek ePhoto Z300. It is a highly recommended scanner if you also take instant pictures like Polaroids or similar.
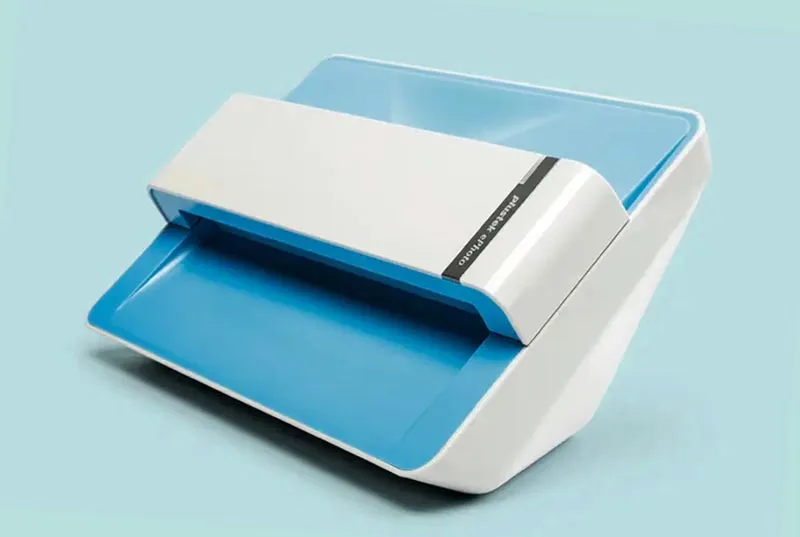
Plustek ePhoto Z300
Mobile Film Scanner
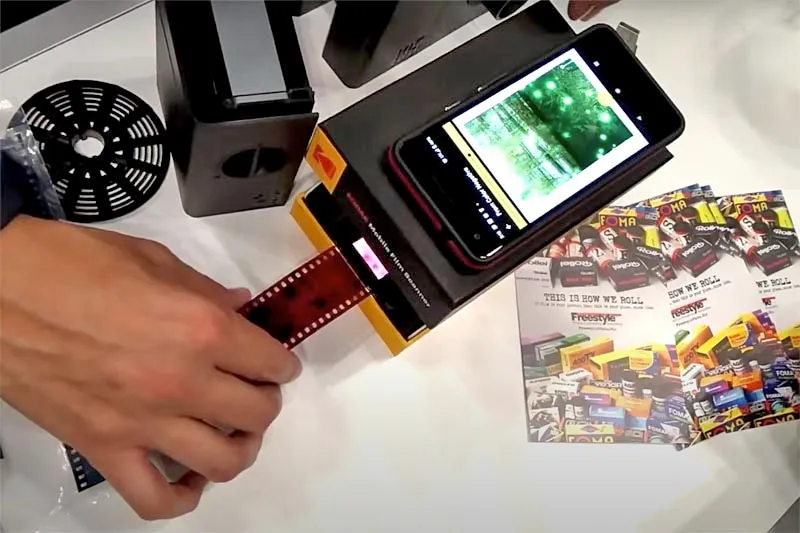
This is one of the cheapest and simplest scanners that exist and it works using our smartphone to capture the image, we are talking about the Kodak Mobile Film Scanner. The device itself is not a scanner, since what it really does is use your phone to act as a scanner.
It is simply a small box with a backlit background where you insert the negative into it (which is also sealed from outside light), and with the cell phone placed in position, you take a picture using the app that the manufacturer recommends.
It is a simple and practical method, but not at all professional, because if in the future you want to make a printed copy, you will not get a very decent quality.
It is only recommended for uploading it to Instagram, or any other social network. What is basically what you want right? share the film to instagram. But keep reading because there are more interesting methods to see.
From Cheap Negative Scanner
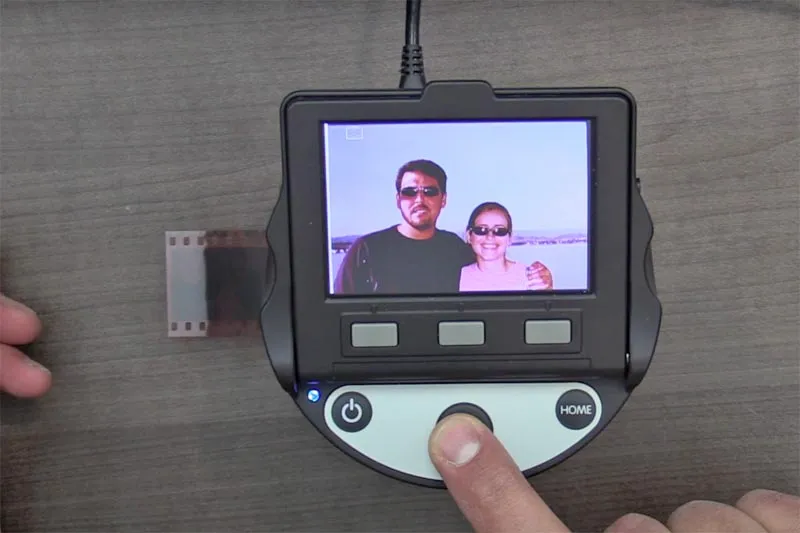
There are a number of dedicated scanners on the market, which can serve as a quick alternative to scan your photos. One of them comes from a classic and reliable company such as Kodak, with the Kodak Scanza.
This is a simple scanner, with which we can use only our negative to perform an optimized and efficient digitalization.
We will be able to make prints of sizes not exceeding 25x20 cm, since probably if we go beyond that, we will notice the limitations that by default are given in basic dedicated scanners like this one.
It is a great alternative for digitizing negatives that we are going to use on the web, or social networks.
It is also great for rescuing family photos, which as usual, we do not need too much detail in terms of color and contrast for the use they will have. But it is useful to rescue and update our photo albums that over the years are getting damaged.
Scanning more professionally
Sacanning Film With A Flatbed Scanner.
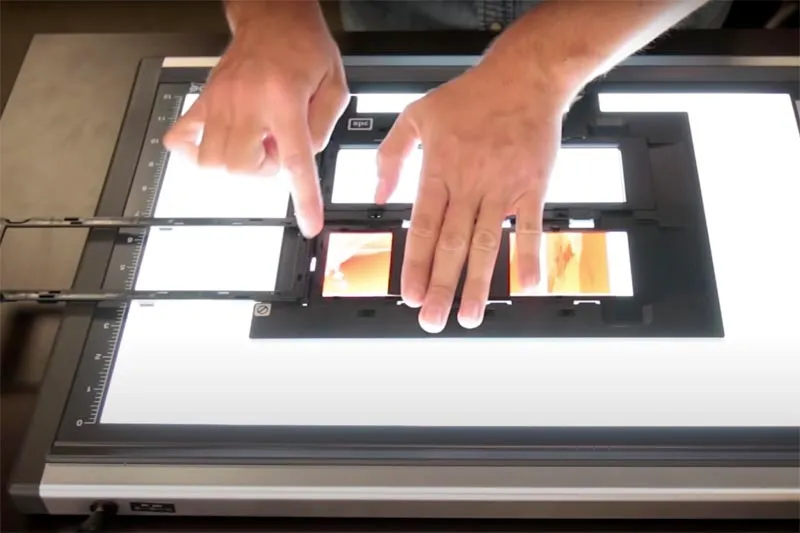
Through this system we would already be entering in a more serious plane in the digitalization of our photographies. Since we are talking about a scanner as such, which is dedicated to digitize film negatives.
We will capture the image using the holders that the manufacturer offers us for the negative format we have. In most cases they will come for 35mm and 120 format. For larger formats they are usually offered separately.
If we talk about a specific scanner or brand, we recommend a scanner from the Epson line, the Epson V850, since they have been the reference among amateur photographers for years for the purpose of digitizing film.
You will obtain a very optimal quality and worthy of being exhibited in a gallery. Of course, what we recommend here is that you do not exceed dimensions above 30x40 cm. Since we believe that beyond that, it is probably better that you consider buying the scanner that we will see next.
View prices on Amazon
Advanced And Dedicated Scanner For 35mm Negatives
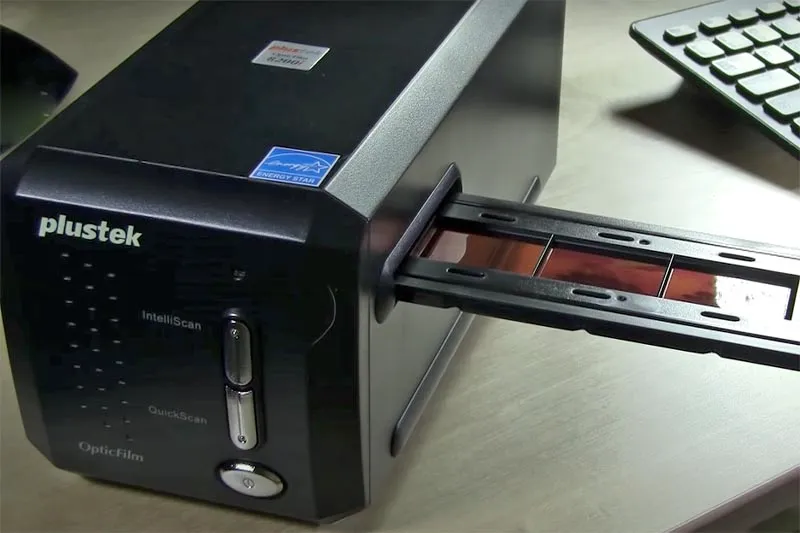
Plustek OpticFilm 8200i SE
If you shoot 135 (35mm) photographs in a more advanced way, and not only want to post them on social networks like Instagram or Facebook in the best possible quality, but also plan to use the digital image for hard copies, this is the ideal scanner.
Since in addition to a good pixel per inch size, it is capable of extracting very high tonal ranges, offering great quality contrast and color data taken directly from our negative.
You will no longer have to worry about saving the negative once you have digitized it, as long as you have the file backed up and other safeguards in place.
The particular brand that we recommend for advanced amateurs is the Plustek OpticFilm 8200i SE, there will be even more professional ones, but you will have to spend a couple of thousand dollars.
Scanning Film Negative WIth A DSLR
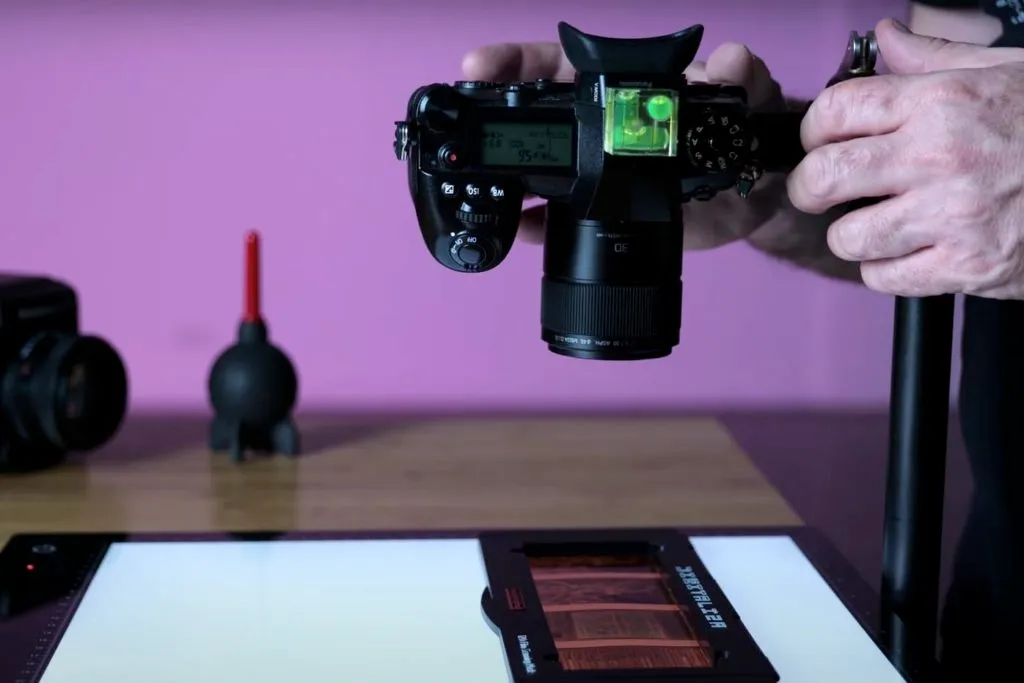
For some people this method is the best of all, since on the one hand, once we set up a suitable setup for this purpose, we will make the process very fast and efficient.
We will achieve the same image quality or even more, depending on the camera and lens, than a dedicated scanner like the Plustek.
What Do We Need To Scan With A DSLR?
-
A good macro lens like the 60mm 2.8
-
An App-c or full frame reflex camera
-
A tripod
-
A led panel or light box with which we will illuminate the film
-
A Film Holder for 35mm
Steps To Scan With A Dslr
-
Set our camera to manual, both in camera mode and in focus mode (MF).
-
We lower the ISO to the maximum possible, most commonly ISO 100. This is to make sure we have the best possible definition.
-
Place the film on the surface of the LED panel, we recommend that you use some kind of guide or template to make the process a little faster. Although it is not strictly necessary
-
Once this is done, we proceed in the camera to focus and adjust the exposure manually with the speed dial.
-
Once all this is done we can proceed to take the picture, and then pass it to Photoshop or any other editor, where we can adjust the curves to proceed to make the inversion of colors.
Below we leave you a video of how to invert the colors in Photoshop, so that our photo is no longer a negative.
And that’s it! You have your photo ready to be published on Instagram, Tumblr, or any social network.
For the last step we leave you a video in case you want to learn how to do it well step by step.